Thursday, August 28, 2014

You're So Special Navy Blue Dress Inspired Card

I am participating in the Runaway Inspired Challenge #66 with this photo as the inspiration.


I like the flower in the model's dress but I don't have a huge flower stamp in my collection. I think Altenew has a few stamps to re-create the flower but I don't have their stamps yet. It is part of my wish list, though.

Think...think...think...I came up with the idea of die-cutting huge flowers for my card. At first, I planned to cut dimensional flowers using patterned paper. Nah! I flipped through my Cricut Art Philosophy handbook to search for the flower which has an outline cut as well. I came across with this flower cut that I used in my card. I cut the flowers in three different sizes using white cardstock. I colored the solid flowers with Copic markers. I added detail by using Copic White Opaque. I used sponge daubers to color-in the outline of the flowers. I applied Wink of Stella to the outline.


Here are close-up photos of the flowers. The small flower is light pink in color. The one beside it is dark pink in color. 


This flower is color orange.


I thought about trimming the parts of the flowers that overhangs my card but I think I will lose the beauty of the flowers if I did that. What is a little overhang anyway. I think it added some uniqueness to the card.

Thanks for viewing my blog.

Maria Giselle B.

Die-cut: Cricut Art Philosophy Cartridge
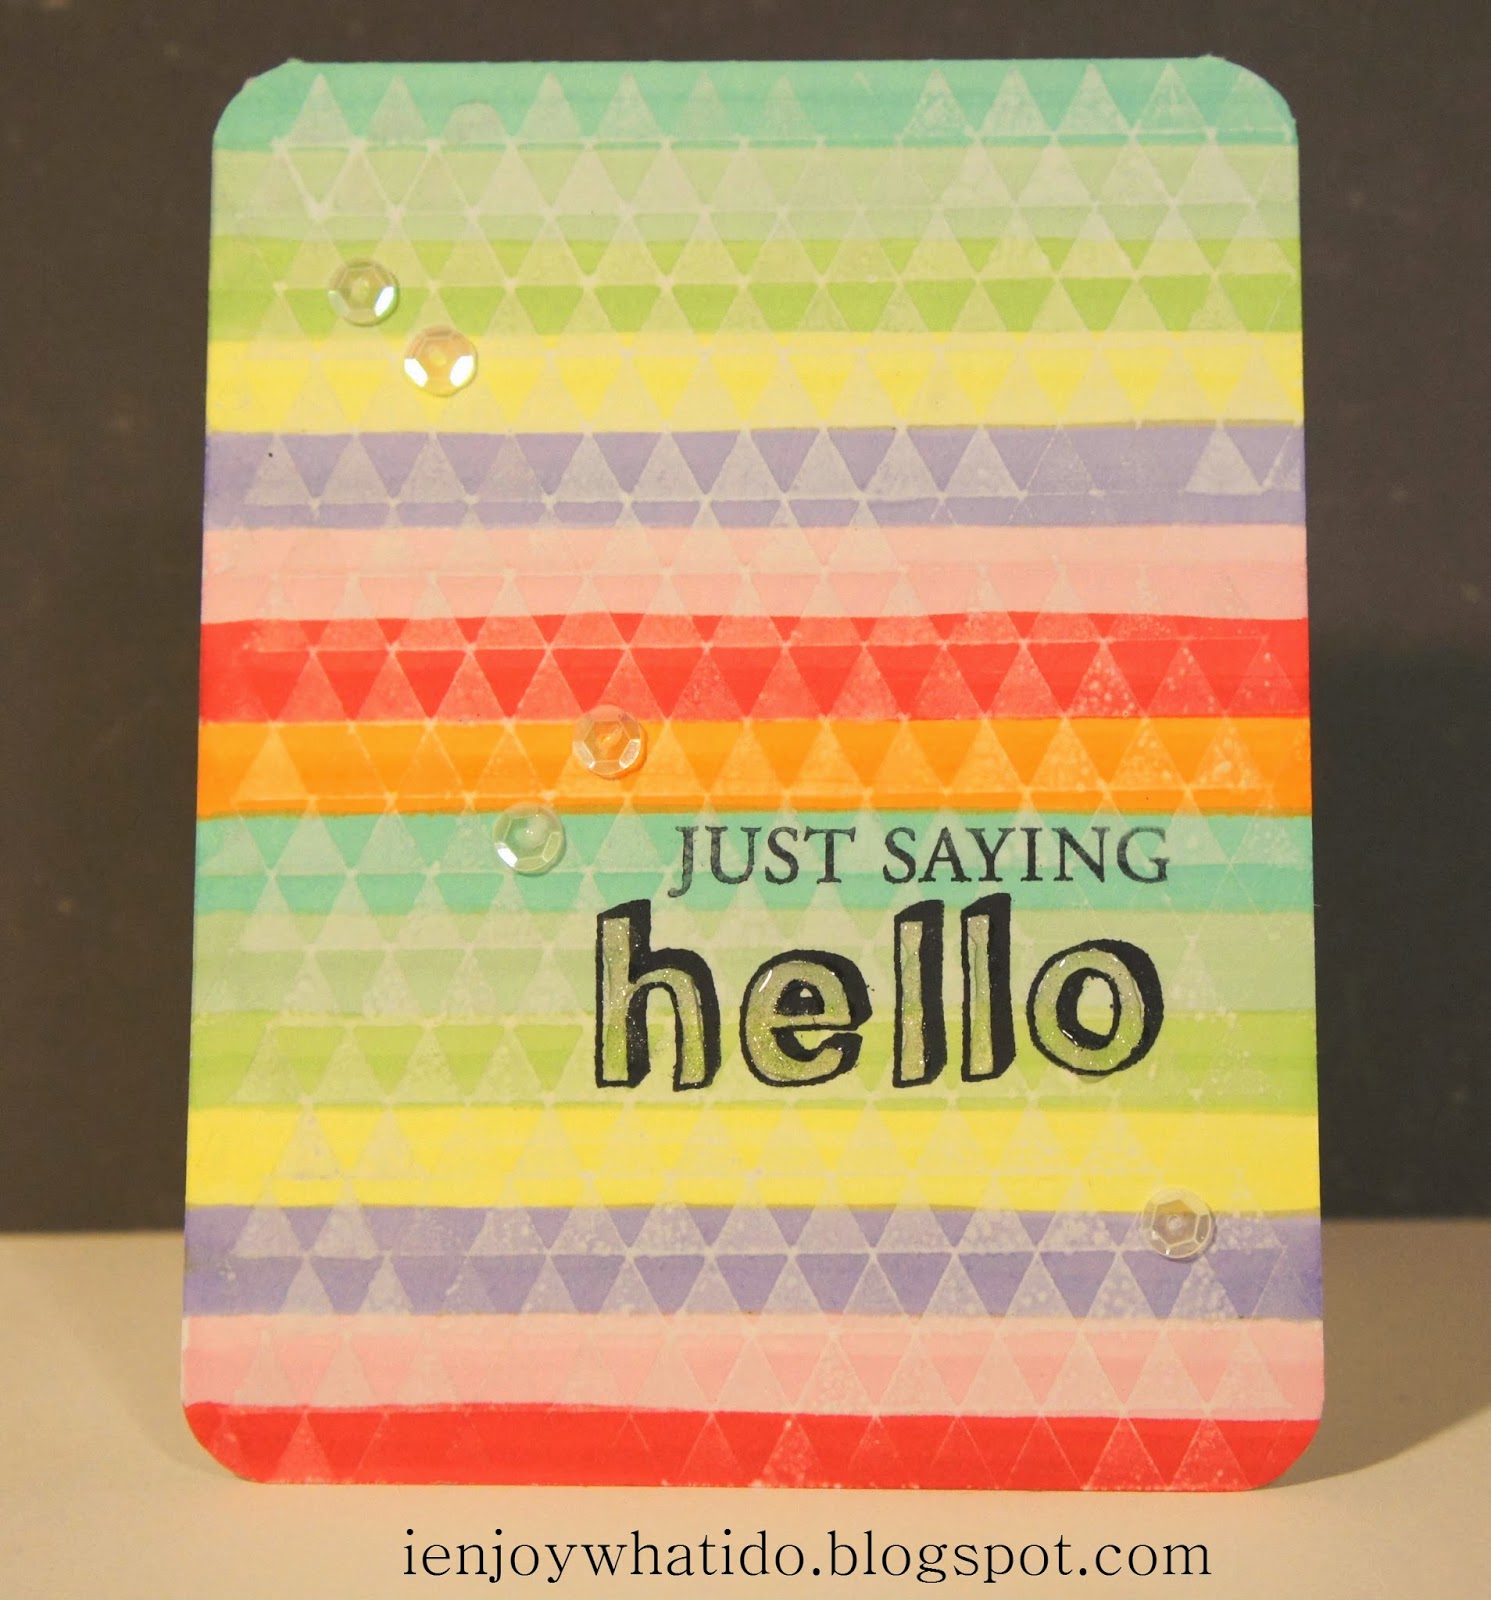
Stamp: Hero Arts Truly Appreciated
Marker: Copic, Wink of Stella Clear
Ink: Hero Arts Shadow Ink Navy
Embossing Folder: Lifestyle Crafts Linear

I am submitting this to the challenge below:

Make A Wish Watercolor Card

After finding out Mama Elephant and Me August Challenge, I had several ideas on what card to make. I always feel I don't have the right stamp but somehow, I always challenge myself to use what I have.

To make this card, I started by making my own template by cutting a star using my Cricut Imagine. I cut two stars, a pointy-edge and a curved-edge. I asked Rudy (my eldest son) which star he likes the most, and you will see his choice in the card.

After I heat embossed my sentiment, I laid the star stencil on top of the watercolor paper, then laid a Memory Box stencil on top. I only have my Hello Kitty watercolor set to work with. Well, it didn't disappoint me.

I had a struggle on which background to attach my star to. I went through patterned paper, vellum and cardstock. And the final choice, I created my own background paper using several star stamps and Tim Holtz Distress Ink.

And here is the card I made.


Thanks for viewing my blog.

Maria Giselle B.

Stamp: Mama Elephant Confetti, Make A Wish
Stencil: Memory Box Line Up

When I posted this earlier, I was such in a hurry that I didn't mention to which blog I am submitting this card. So, here it is...


Tuesday, August 26, 2014

Hello, Hello, Hello Tag

I created a tag for this week's Tag You're It! Challenge. I am inspired by this week's inspiration. I think it is about time to have my Cricut work. I cut the tag using my machine. I cut two tags with flowers (on green and white cardstocks) and a solid tag to serve as the backing of the tag. I used Copics to color the white flower cut-outs which will be in-laid on the negative space of the tag. I used the Copic Opaque White to add detail to the flowers. I applied Wink of Stella in clear to the flowers for shimmer. Oh, no! The Wink of Stella reacts with Copic Opaque White. I erased the lines I made using the Opaque White while I was applying Wink of Stella. So, next time, I will reverse the process to not ruin any close to being done projects. I went ahead and re-applied the Copic Opaque White.

The photo inspiration


Close-up of the flowers

Thanks for viewing my blog.

Maria Giselle B.

I submitted this card to the challenge blog below:


Oh Deer Card

I enjoyed blog hopping on Case Study's 4th Anniversary Week #3. There are a lot of designers who created cards based on their inspiration, and to which I got inspired as well. There is such influx of ideas but the limitation I have is the right kind of stamp to use. Anyway, it was so fun to look through all the participants' work.

This card I made is inspired by Cristina Kowalczyk's card (http://mypapersecret.blogspot.com/2014/08/case-study-4th-anniversary-blog-hop.html). I think it is a fun idea to extend your stamped image to the back of the card.

I had difficulties before coming up with this final card. On my first try, the tree trunk looked okay but once I stamped and watercolored the deer, nah! It didn't look okay to me. On my second try, oh no! I kept re-stamping using the Fiskars Stamp Press thinking it will be aligned because I didn't move the stamp press. I was wrong. It was a mess. Okay, I'll use the clean back of this watercolor paper for another project. The third was a charm. Finally, things are working the way I wanted it to.

And here is the card I created:


Doesn't the tree look dimensional with the card open? I didn't discover this until I was taking photos of the card. What a nice discovery!

Thanks for viewing my blog.

Maria Giselle B.

Stamps: Lawn Fawn Into The Woods,  Woodgrain Backdrops

I am submitting this card to

I will also post it on Lawn Fawn's Flickr Gallery (https://www.flickr.com/groups/lawnfawn/.)


Sunday, August 24, 2014

Random Hero Arts Challenge Win

I have happy news last week.  My card got randomly picked in Hero Arts One Layer Challenge. http://heroarts.com/blogs/club/2014/08/21/one-layer-challenge-winners/

All right! I didn't realize it at first until I saw how many views I am getting for my One Layer Hello card. Here is the photo of the randomly picked card which I posted last July.  http://ienjoywhatido.blogspot.com/2014/07/one-layer-hello-card.html


Thanks for viewing my blog.

Maria Giselle B.

Saturday, August 23, 2014

Sunshine Dog Card

I recently watched a card video by Kristina Werner (one of my favorite designers.)  I love her card so I thought of giving it a cardlift, the Maria way.  If you want to check her video, here is the link: http://www.kwernerdesign.com/blog/?p=11314.

Here is the card I created.


I stamp the sun using yellow ink, re-stamped it but this time just inking the edges of the sun using orange ink. I cut out the center and traced this on a vellum.  I cut the vellum a little bit larger, stamped the smiley face on the right side.  I colored the back with yellow and colored the cheeks with pink.  I used a black Glaze pen to trace over the face to make it bold and dimensional.  After ensuring its placement, I adhered the sun using transparent dimensional tape.  I applied clear Wink of Stella and Glossy Accents to the sun rays.


I cut out the dog's mouth and inserted the twine-wrapped bone in it.  I applied Wink of Stella and Glossy Accent to the bone tips. The sentiment works well with the stamped images. I selectively embossed the sentiment.  Too bad, it is not captured in the photo.


Thanks for viewing my blog.

Maria Giselle B.

Stamp: Paper Smooches Spectrum, Woofers & Tweeters

I am submitting this card to the challenge below:


Saturday, August 16, 2014

Washi Tape Pocket Cards

For this week's challenge, the inspiration I got from the photo is the washi tapes.  It is time to break in on my washi tape collection once more.  Most of the embellishments for this card is washi tape.


The vellum pocket has clear tape adhered in front of it.  The elements underneath the vellum pocket (ampersand and flowers) were also cut using washi tapes.


Thanks for viewing my blog.

Maria Giselle B.

Die: Paper Smooches Always & Forever, Pocket
Stamp: Paper Smooches Denim & Daisies 


I am submitting this creation to this blog.

Thursday, August 14, 2014

Yellow Hello Card


I created this card for several reasons.  I was motivated to join the Runway Inspired Challenge blog.  I like the challenge photo especially the blouse, and I also like the design team members' interpretation of the photo.  Another reason is I wanted to try this new stencil I bought at a local scrapbook store, For Keeps Sake.  Unfortunately, the store is closing soon.  And the last reason, I am a Jennifer McGuire follower.  I remember seeing her make a card using an intricate stencil similar to this. I always like to try out her techniques, so here I it is.

Thanks for viewing my blog.

Maria Giselle B.

Stencil: Memory Box Heartwood
Ink: Hero Arts Butter Bar, Versamark
Die: My Favorite Things Die-namics Happy Hellos
Stamp: Close To My Heart You Are

I submitted this creation to this blog: 


Saturday, August 9, 2014

It's Written In The Stars One Layer Card

I challenged myself to create a card using this background stamp which I have not used since I bought it. This stamp is smaller than the usual background stamps. My plan is to use it to create the card's background and also, the focal point of the card.


Thanks for viewing my card.

Maria Giselle B.

Stamps: Hero Arts Star Galaxy & Written In The Stars
Inks: Hero Arts Shadow Ink Navy & Silver

I am submitting this card to these challenges:


Wednesday, August 6, 2014

Just 4 You Popsicle Card


This is the second cut I made of the popsicles. The first cut is larger and has a bite on it. The colors are similar to the inspiration photo but I can't seem to carry out the plan I have for the card. It wasn't working. So, this time, I decreased the size of the image, changed the patterned papers, changed the card's orientation, and changed the sentiment. What a huge overhaul but I am happy with the end result. 


Thanks for viewing my blog.

Maria Giselle B.

Die cut machine: Cricut Imagine
Cartridge: Cricut Create A Critter & Simply Charmed
Patterned Paper: Martha Stewart, My Mind's Eye, Studio Calico Vellum
Stamp: Hero Arts, Impression Obsession
Ink: Close to My Heart, Versamark


Tuesday, August 5, 2014

We'll Miss You Card


I combined several techniques to create this card. My top most priority on my next project is to use embossing paste. I created my own stencil using the flower dies. I stamped the coordinating flowers as how I planned its lay out. Die cut the flowers (Some of which is not a match but it's okay. I have a plan for this die cut flowers, anyway.) I inked each flower using my made up stencil. I applied the embossing paste after. I walked away to let it dry. 

The second technique I used is custom coloring the sequins to closely match the colors of the flower. The Tim Holtz Distress Markers are not suited for this job. I used Copics but somehow, I noticed that on some of the sequins, it is just rubbing off the white finish of the sequins, turning it to silver. I used the darker hue for each color to tint the now silver sequins. I also noticed that there is a white mark at the end of the Copics nib. It didn't seem to affect the color of the markers when I tested it.

The last technique I used is custom building the card sentiment. I used the Sentiment Sampler for this (Miss You and the Well from Get Well.) Since I want the sentiments to look like a border on the circle cut, I masked the word, apply Versamark, stamp, powdered, and heat embossed. Masking the word Well had the most difficulty but it turned out okay. I used the Versamark ink to create the apostrophe on the word We'll.


Thanks for viewing my blog.

Maria Giselle B.

Die: Paper Smooches Pocket Die
Stamp: Paper Smooches Sentiment Sampler
Ink: Tim Holtz Distress Ink, Versamark

Saturday, August 2, 2014

Happy Birthday Flower Card


Thanks for viewing my blog.

Maria Giselle B.

Die: Avery Elle Custom Panel Elle-ments
Stamp: Avery Elle Brushed Clear
Ink: Avery Elle Raspberry Pigment